How to Create an AI Agent - Getting Started
Get started with GaliChat's AI Agent for lead generation & customer support. Learn how to use our service effectively.
4 - View and Test the AI Agent
5 - Embed the AI Agent on your website
Last update: 08.04.2024
1 - Signup
You can sigup for GaliChat at www.galichat.com/signup where you will find the following page:

You can use the login with Google button or enter your email and password to create an account.
If you already have an account, you can login at www.galichat.com/signin where you will find the login page.
2 - My AI Agents page
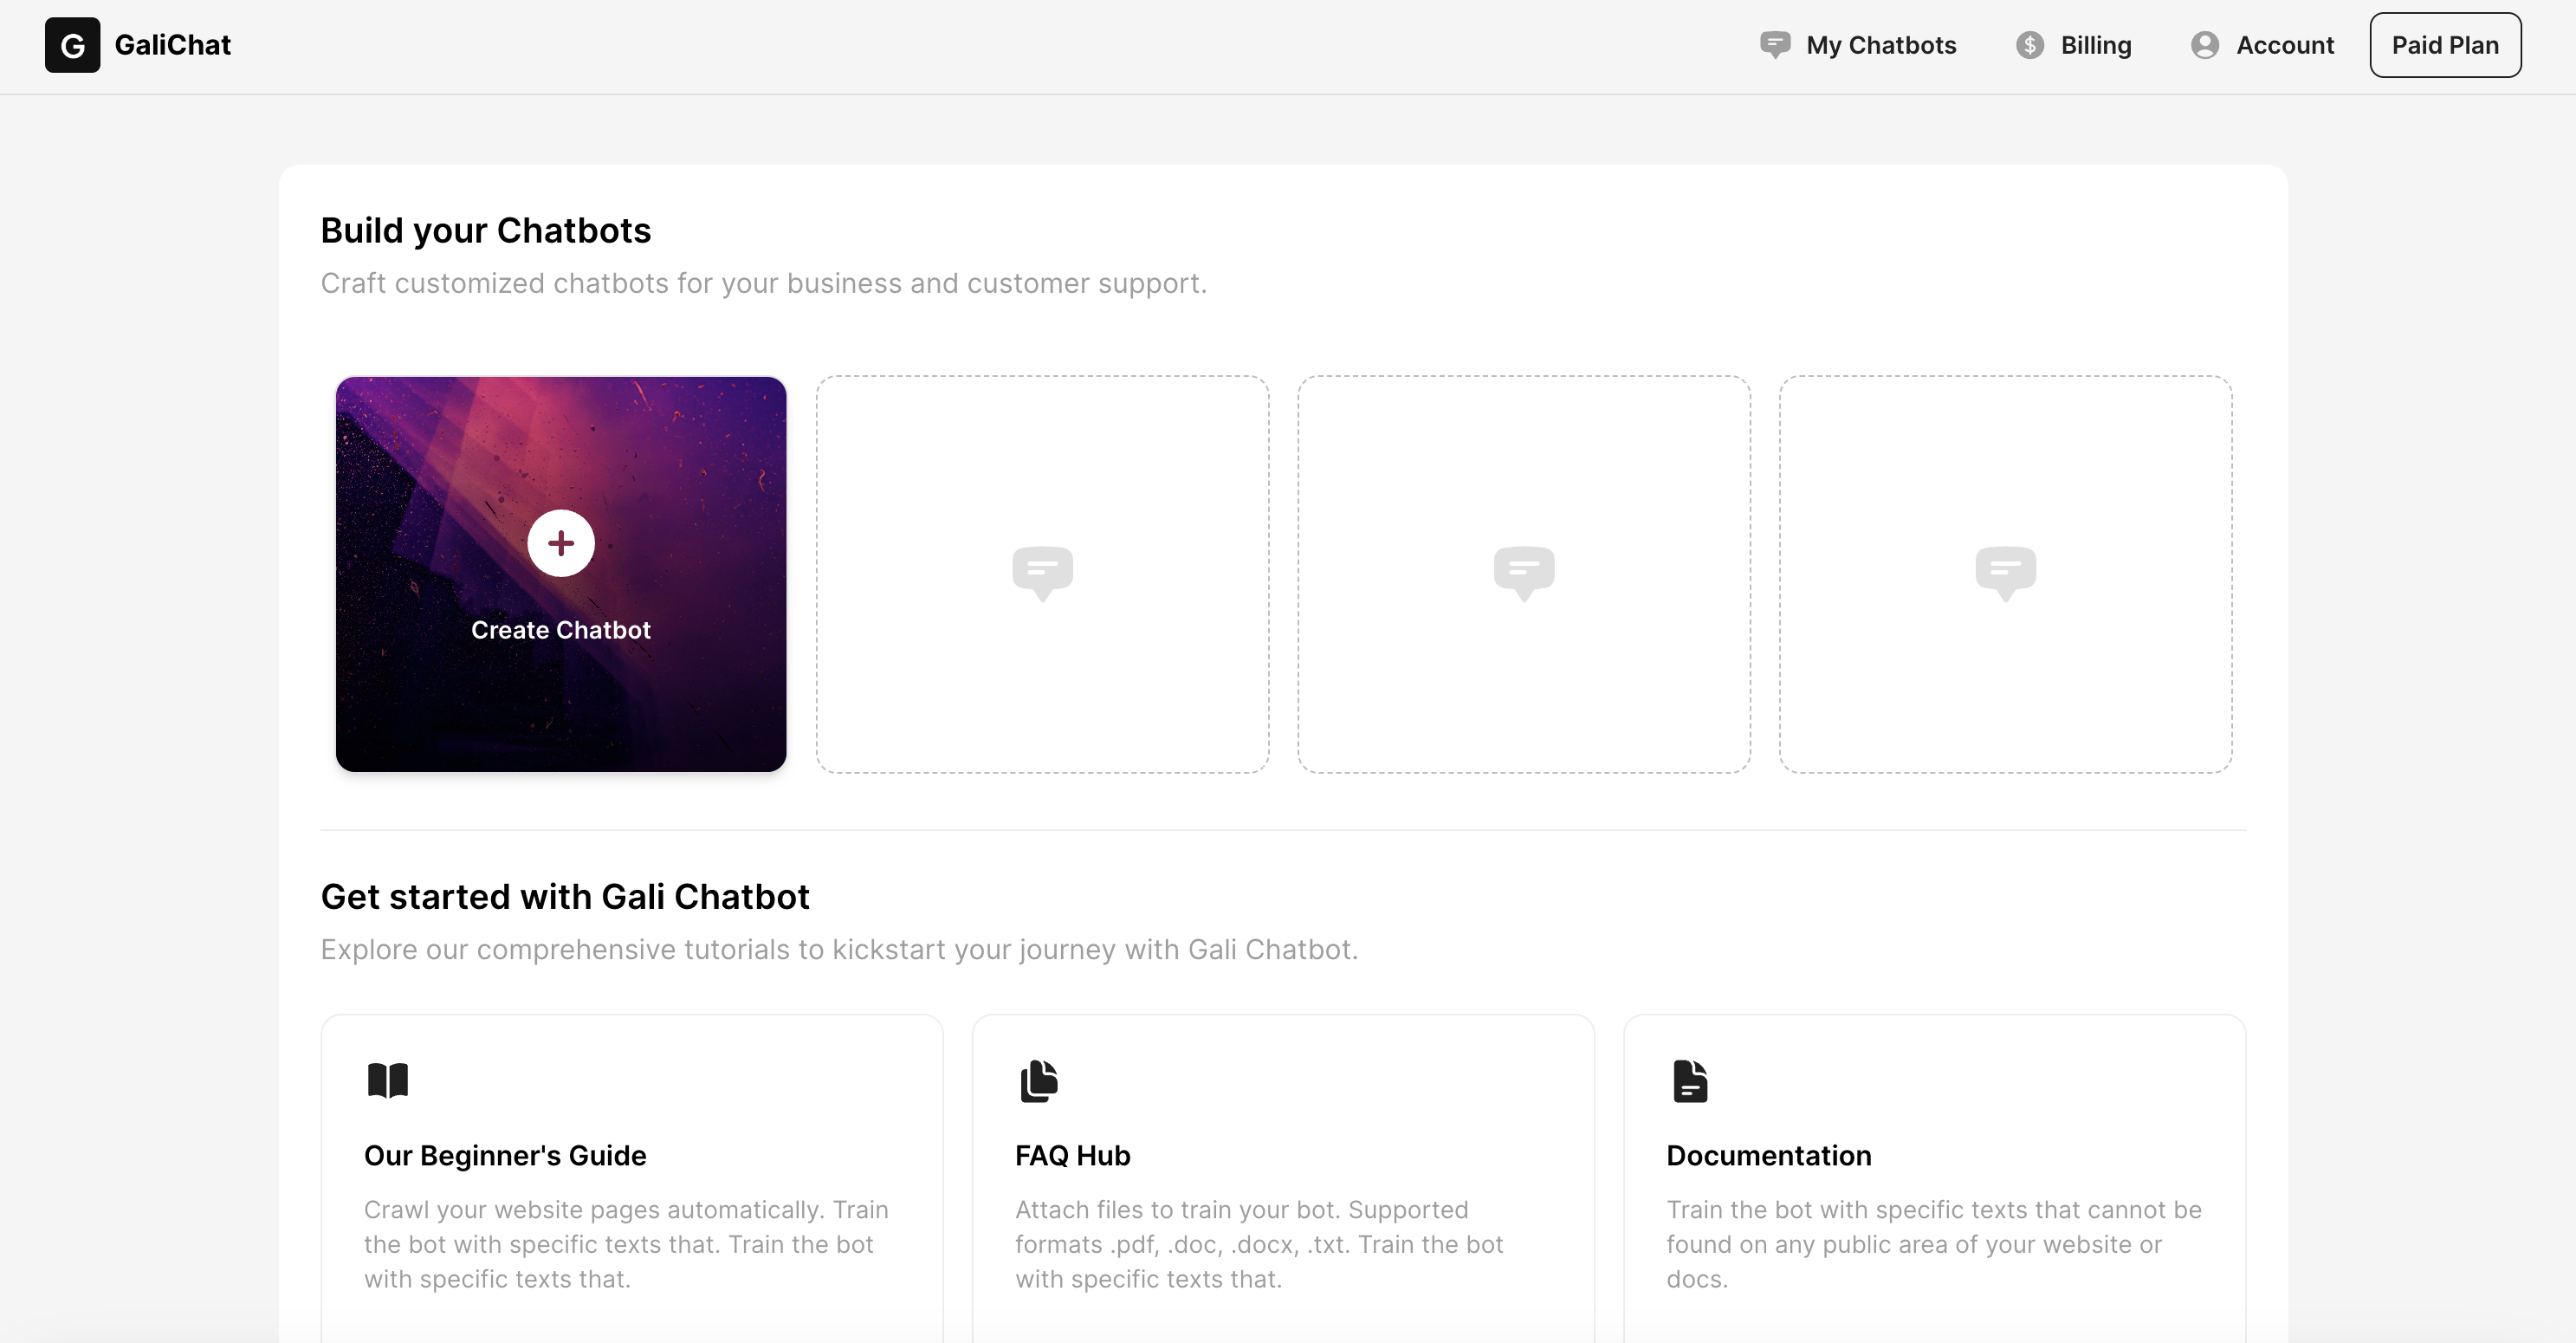
After logging in, you will be redirected to the My AI Agents page where you can create a new AI Agent or manage existing ones. Press on the "Create AI Agent" button to create a new AI Agent.
The created ones will appear on the page where are the dotted elements.
3 - Create AI Agent page

In this screen you can give the AI Agent one of the options:
- A. The link of your website and the AI Agent will crawl it to get the information OR you can add links manually.
- B. You can upload multiple files like PDFs, Docs, Txts, etc. and the AI Agent will read them.
- C. You can write the information manually as simple text.
For the next example we will use the Crawl option and use the Google.com domain.
Write the domain name and press the "Crawl" button. You will see a screen like the next one:

The links that the AI Agent found on the website will appear as a list. You can simply choose which links are relevant for your audience and press the "Create & Train Bot" button.
After you press the button, you will be redirected to the Training AI Agent page where you will see the following screen:
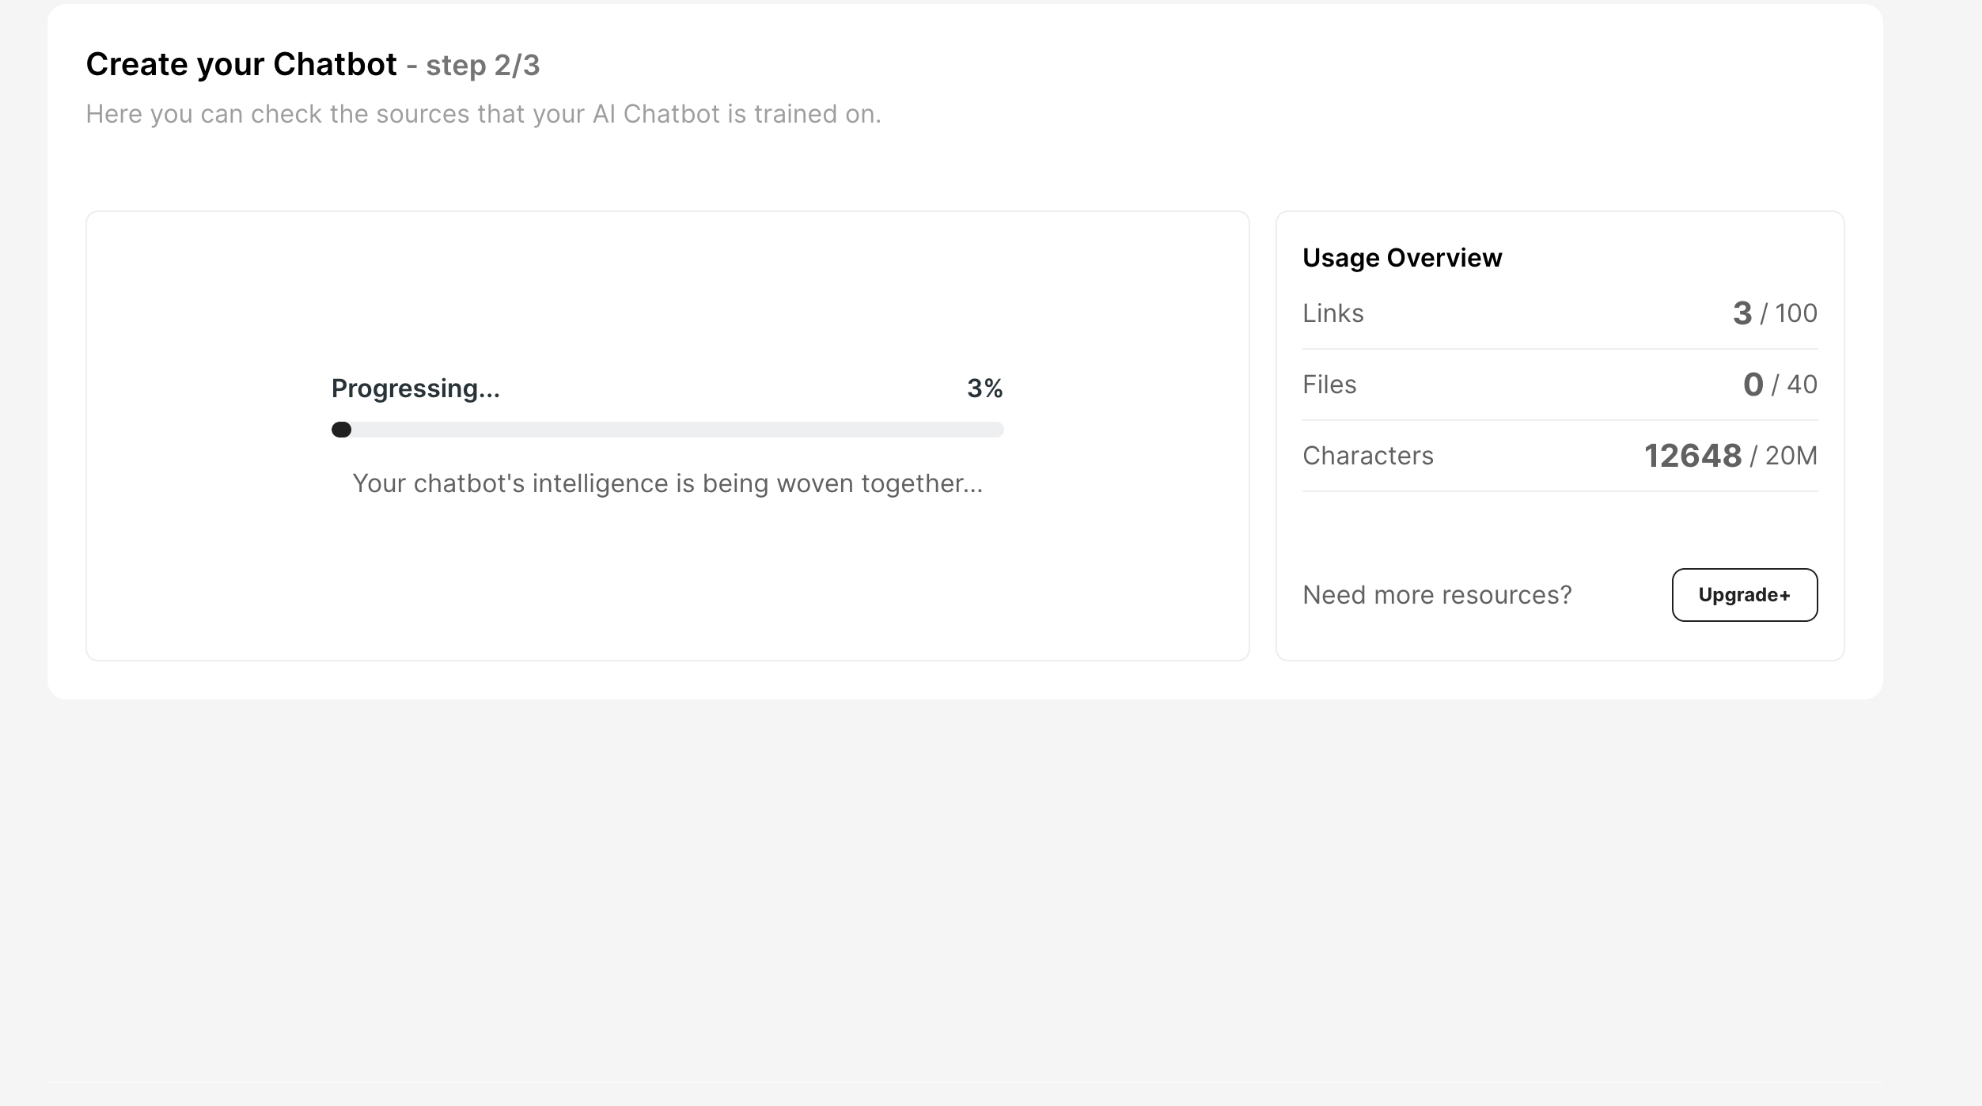
Based on the number of files and links that you added, the training process can take from a few seconds to a few minutes. After the training is finished, you will see the following screen:
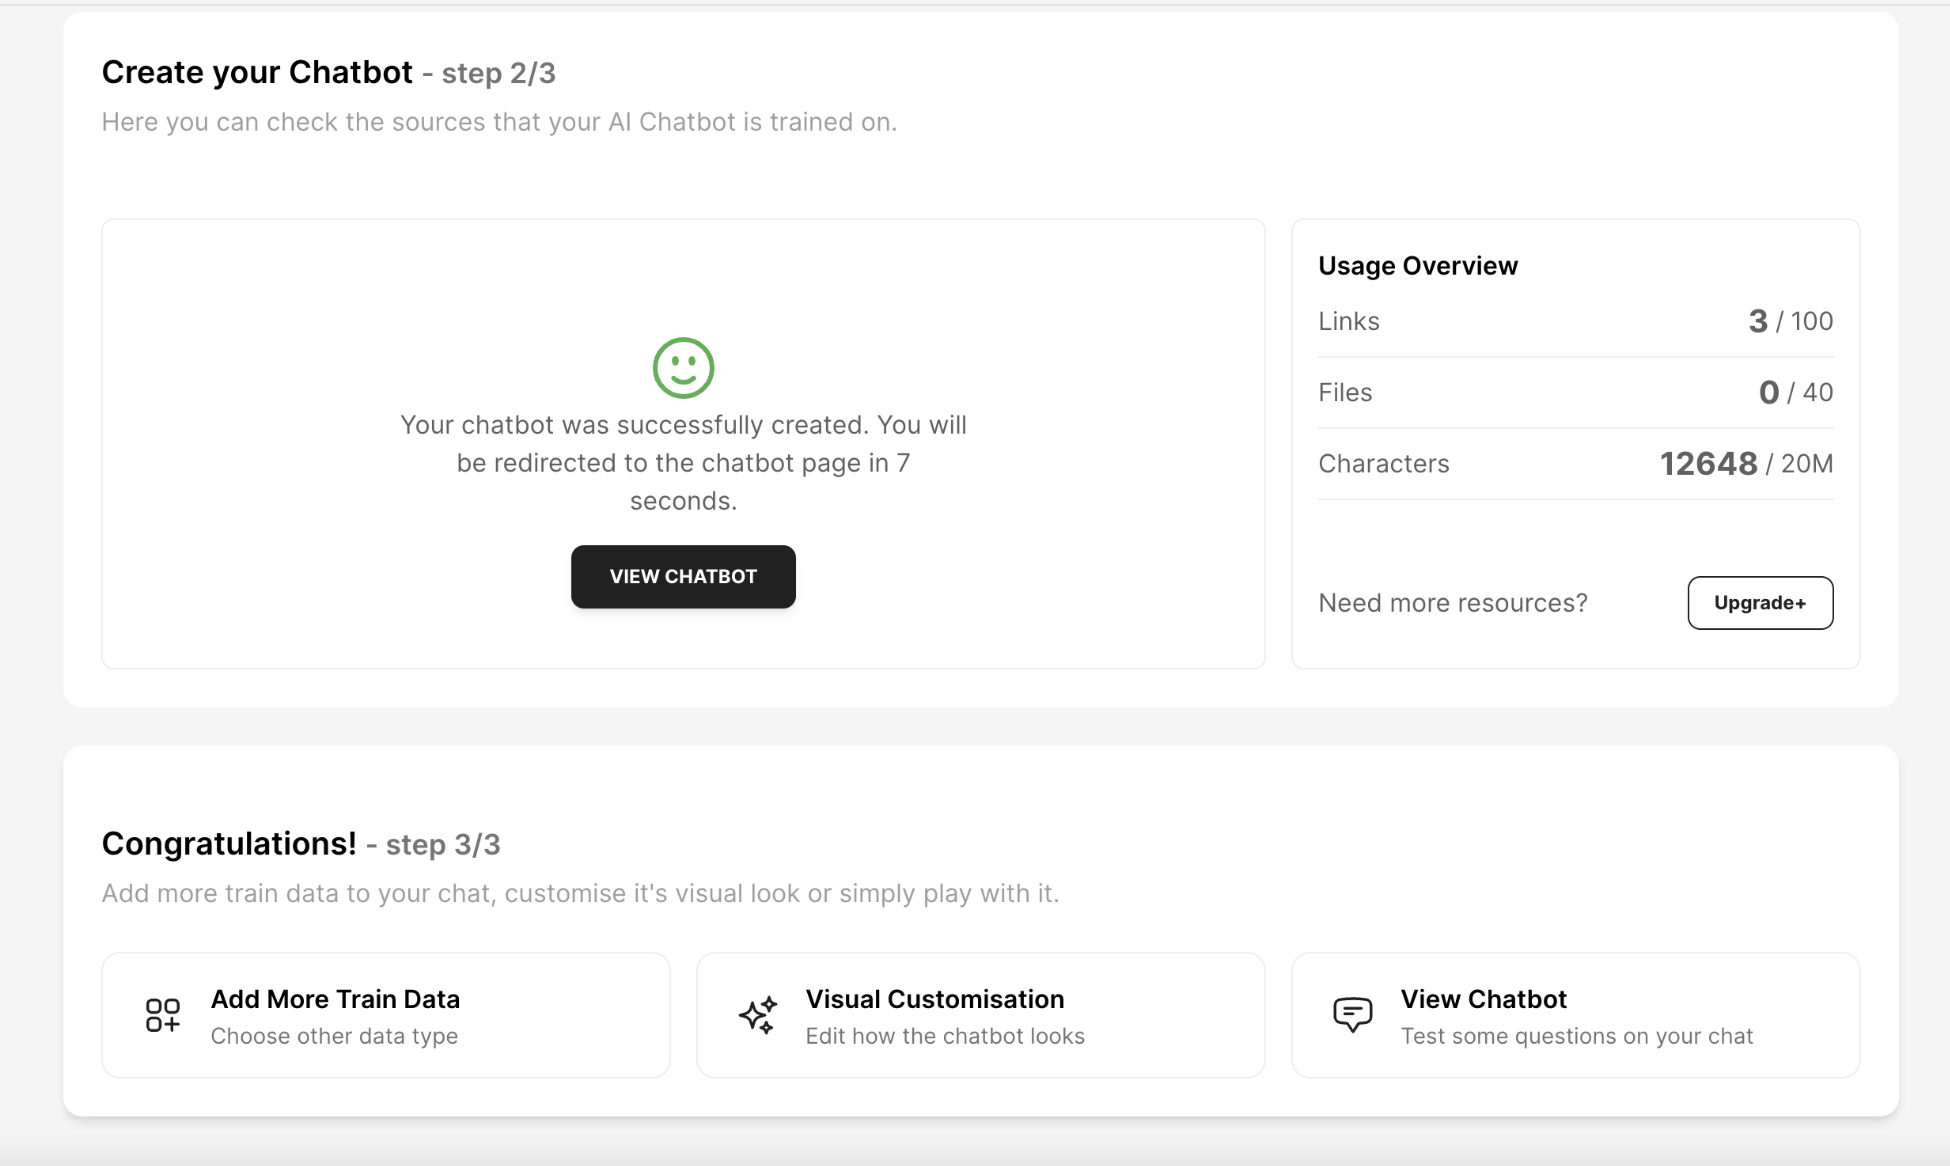
From this page you can add more Training Data, Change the Visual Customisation or View & Test the AI Agent.
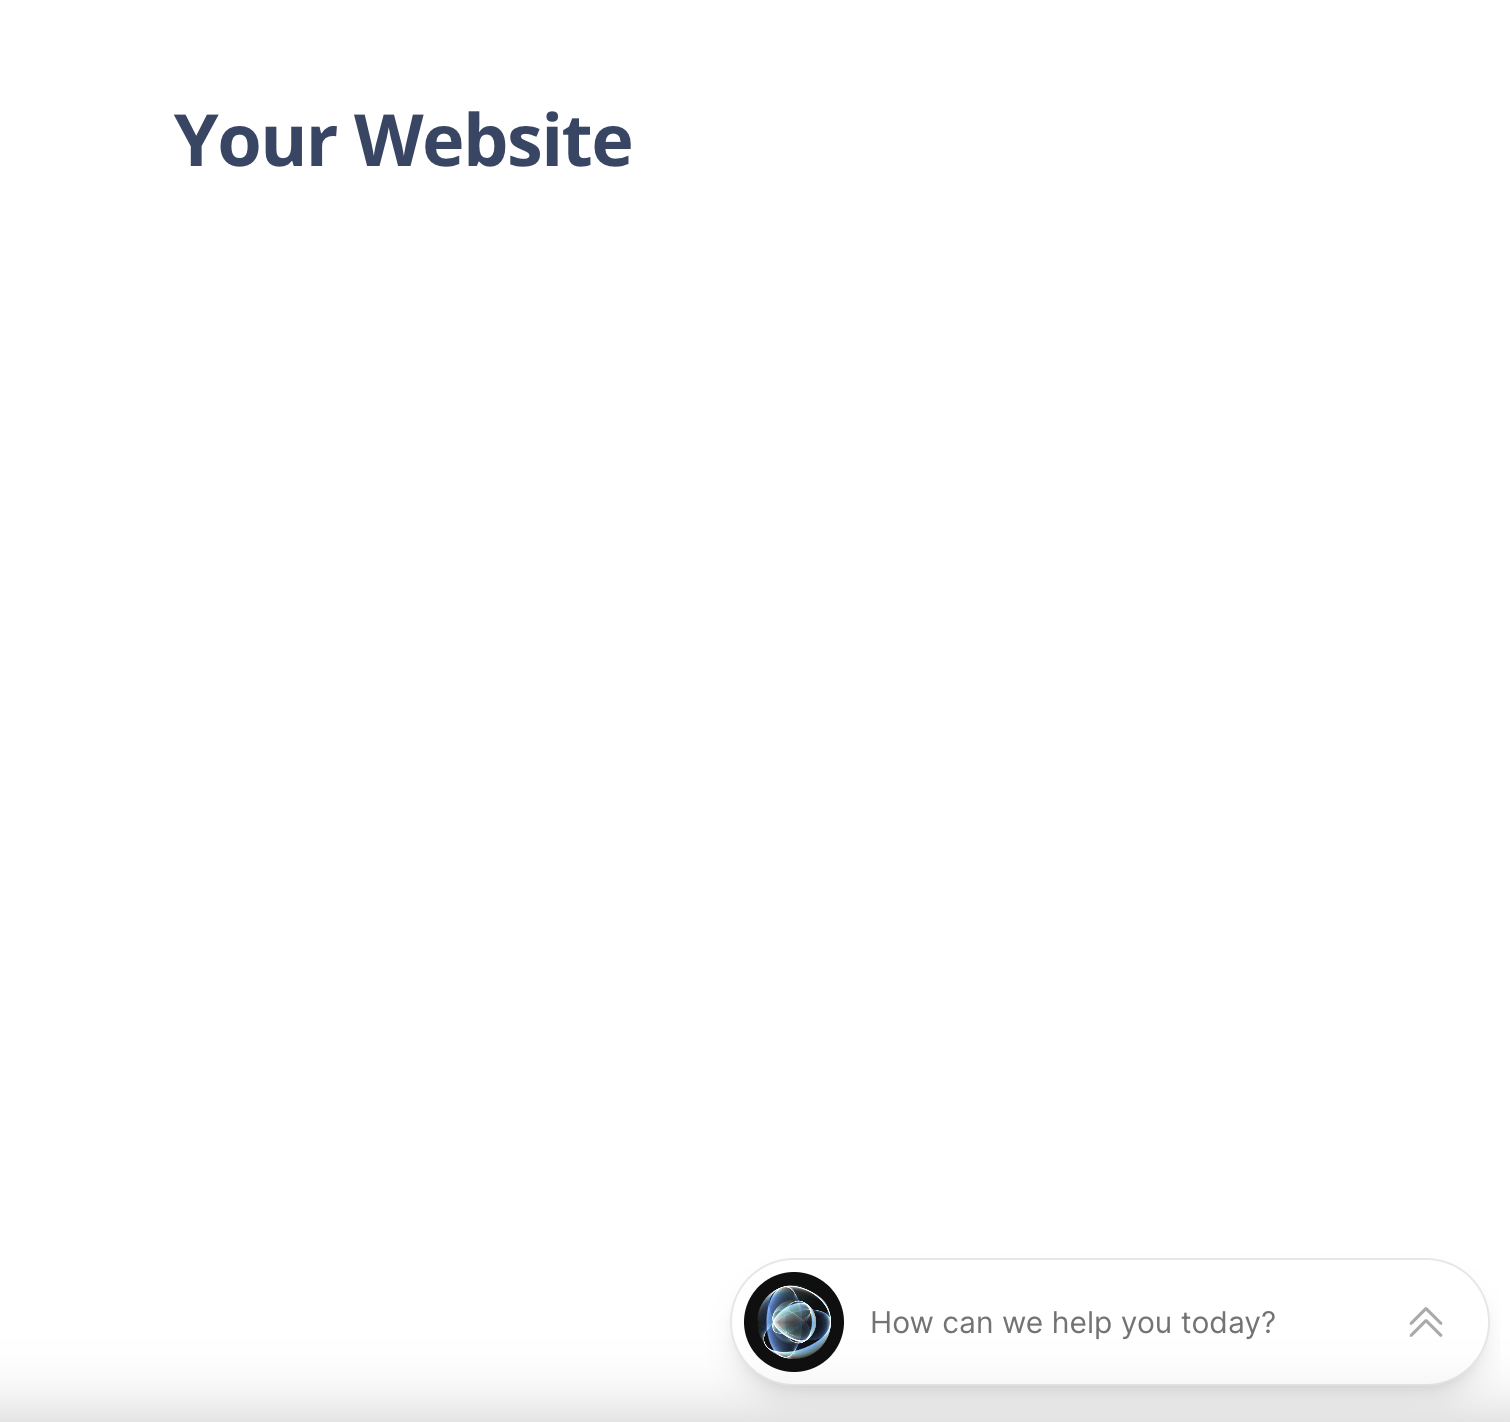
4 - View and Test the AI Agent
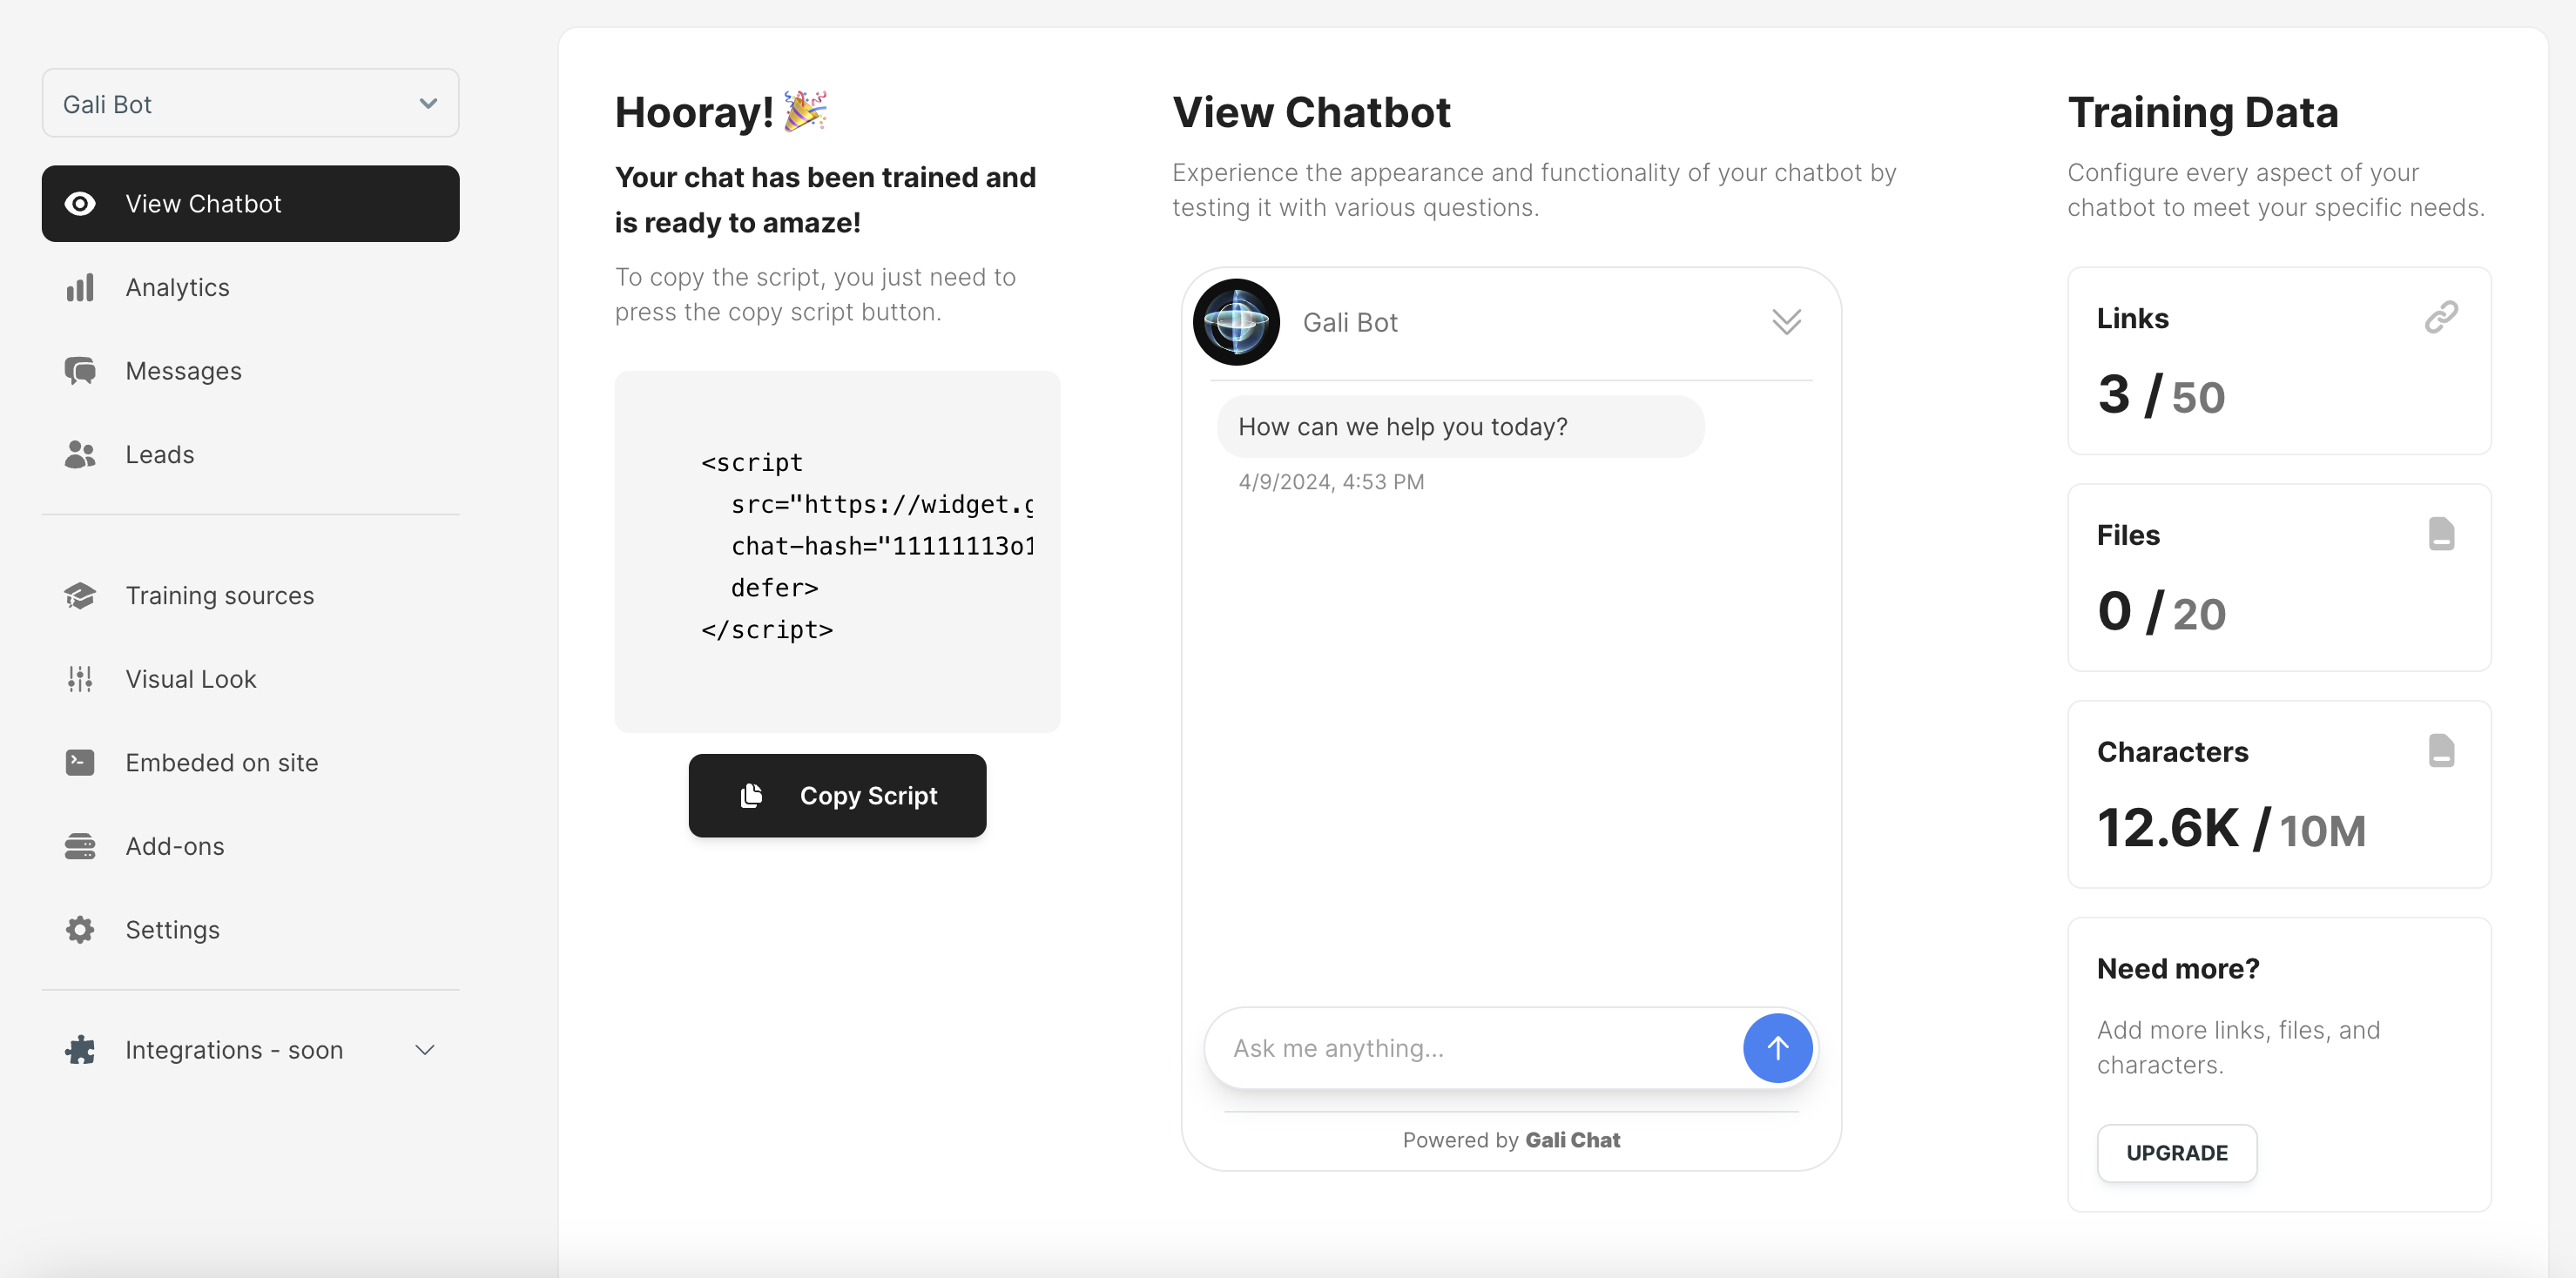
In this screen you can see how the AI Agent will look on your website. You can test it with some questions and it responds.
IMPORTANT! If the AI Agent doesn't respond to your questions,don't worry! You can go back to the Training AI Agent Page and add more training data. In case the AI Agent doesn't answer the questions correctly, you can add more text with those specific information.
5 - Embed the AI Agent on your website
You can either copy the code from the Embed Code section and paste it in your website's HTML or you can go to the "Embeded on Site" Page and see the full code there.
The Add to website page will look like this:

Simply copy the code and then paste it in your website's HTML.
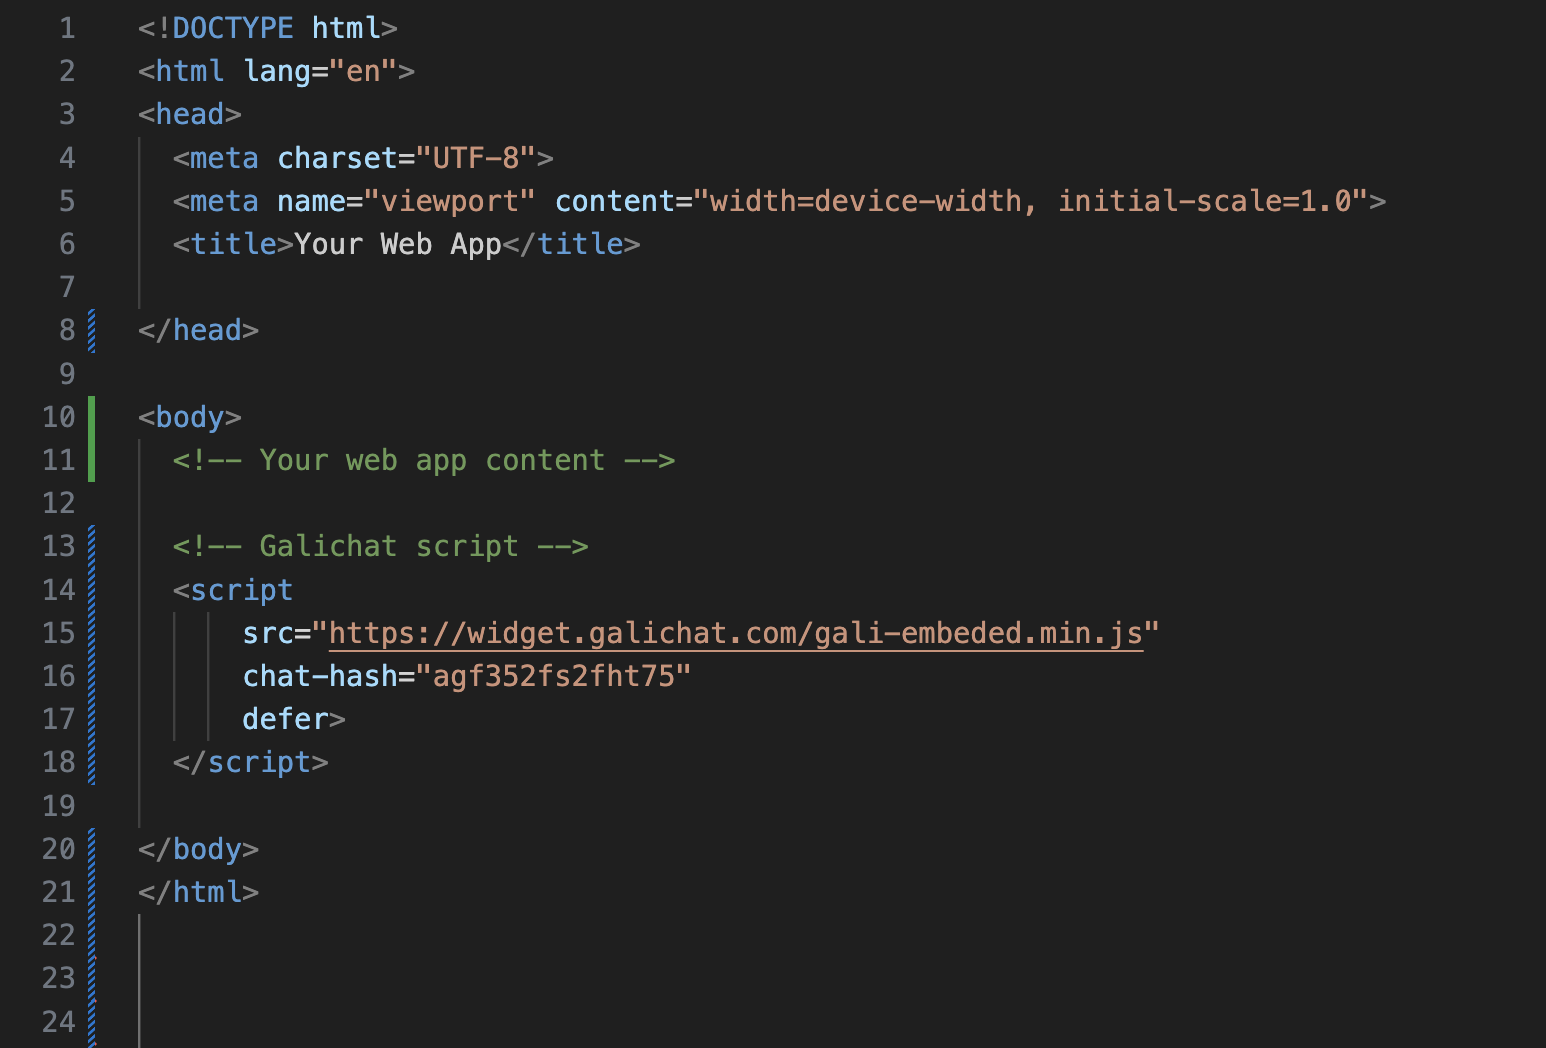
After this step the AI Agent will be live on your website and you can start using it.
6 - Change the Visual Look of the AI Agent
You can change the visual look of the AI Agent by going to the Visual Look Page.
You can give a name to the AI Agent, change the colors, add an image for Logo/Avatar and set its dark/light mode based on your website's design.

7 - Settings Page
For additional settings, you can go to the Settings Page where you can change the Prompt and the GPT Version of the AI Agent, set the Leads details or delete it.
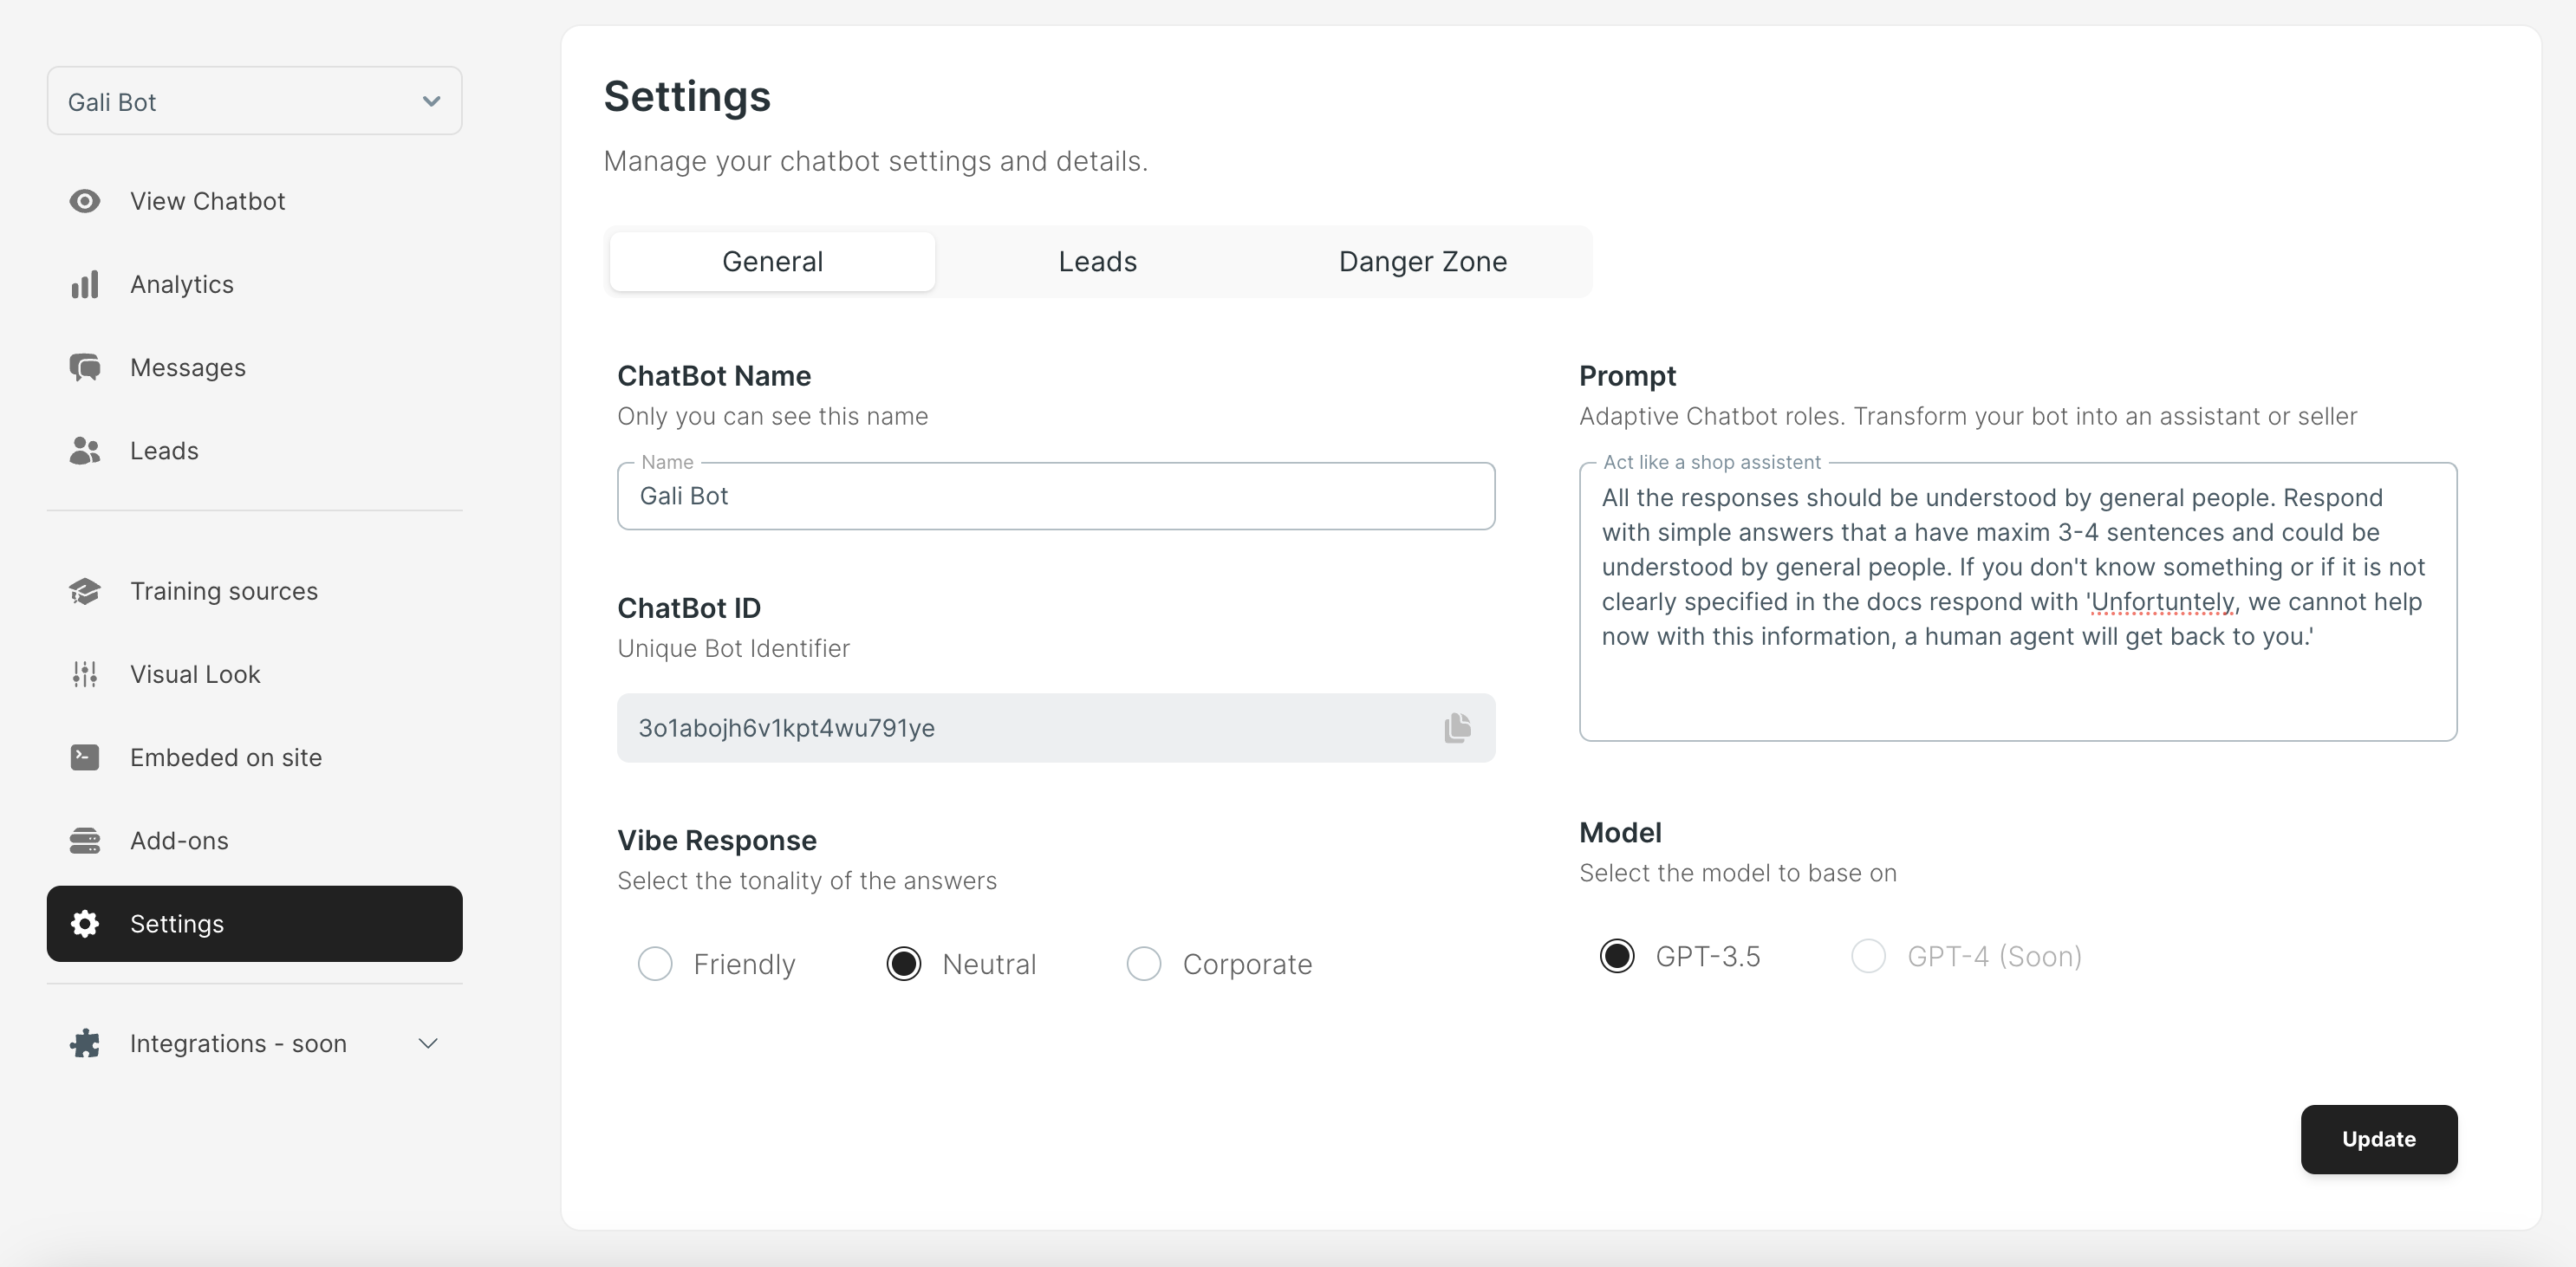
8 - Lead generation
The AI Agent can generate leads for you. You can see the leads settings in the Settings Page.
Here you can choose which information you want to collect from the leads like name, email or phone number.

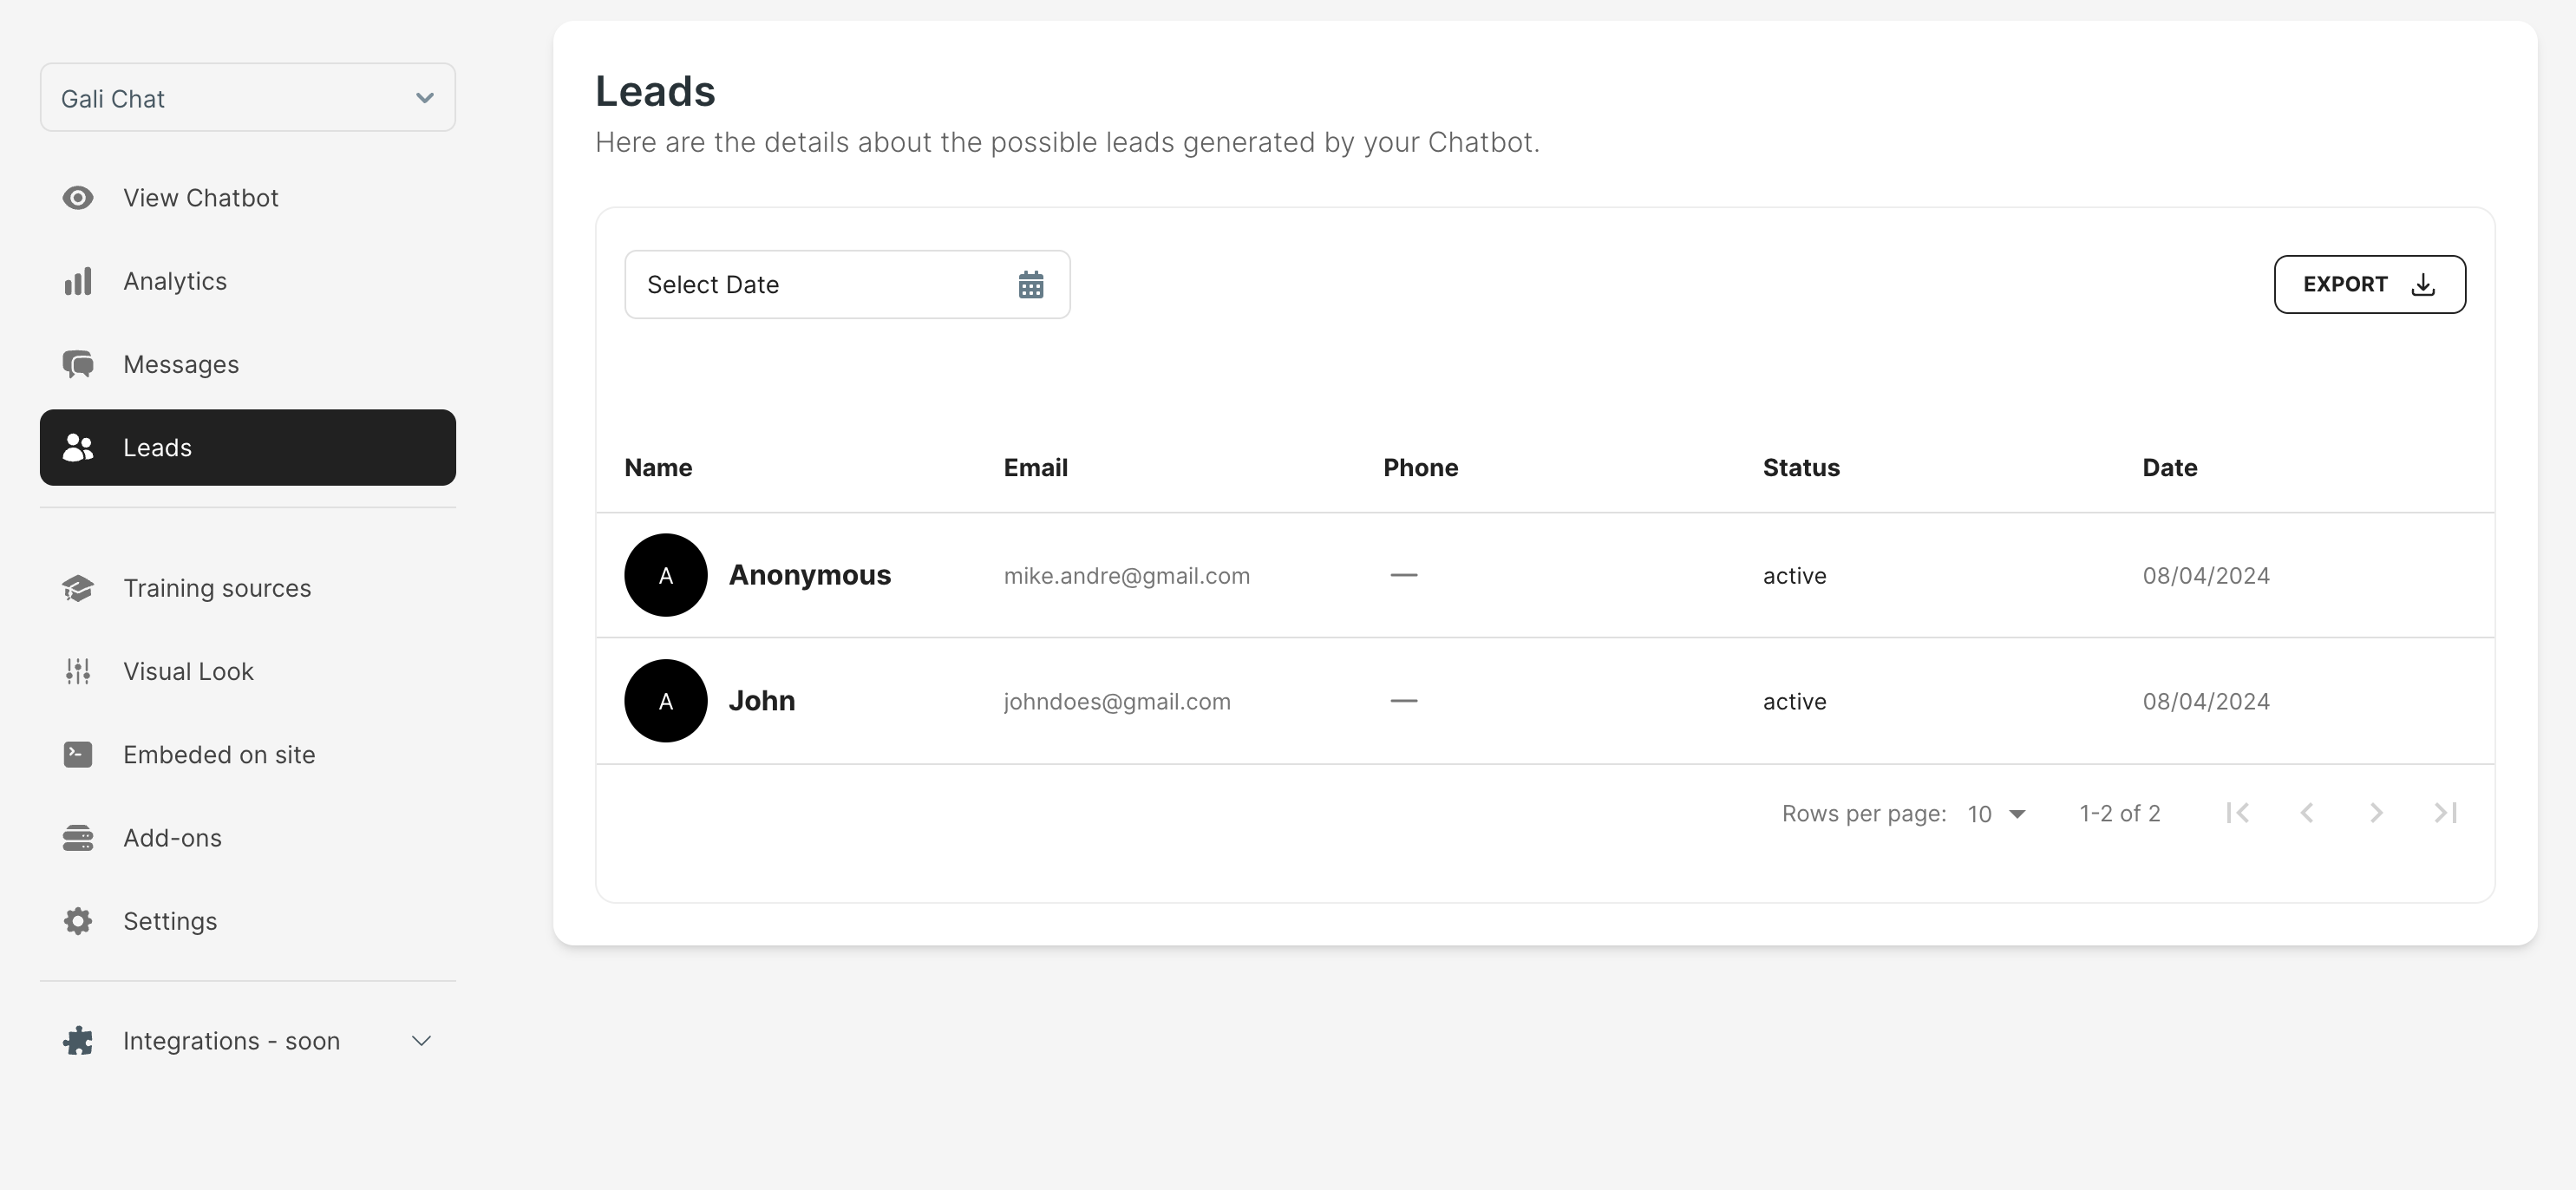
9 - View Leads
You can view the leads in the Leads Page. You can see the details of the leads and export them. You can also choose a date range to see the leads from that period.
10 - Messages History
You can see the messages and chat history in the Messages Page. You can see the messages that the AI Agent sent and the messages that the users sent.
Based on those messages you can improve the AI Agent's training data and add more information.

IMPORTANT: In order to get always a full conversation we automatically sync the messages from your users every 10 minutes. If you want to get a fresh view of the current active messages press on the Sync Button.
11 - Addons
You can add Extra AI Agents, Messages or Remove the GaliChat brand from the AI Agent by going to the Addons Page. If you want to add extra AI Agents or messages, you can choose the plan that fits your needs.
